
Hello Everyone,
I hope you’re all doing well. In this blog post, I’ll walk you through how to quickly set up a vulnerable Active Directory (AD) environment to practice your pentesting skills. We’ll be using a script called Vulnerable-AD
Firstly, click on the link below to download the Windows Server 2019 iso file.
Windows Server 2019
Once you have downloaded the ISO file, import it into VMWare or VirtualBox, depending on your preference. After setting up the VM, Click on Start machine.
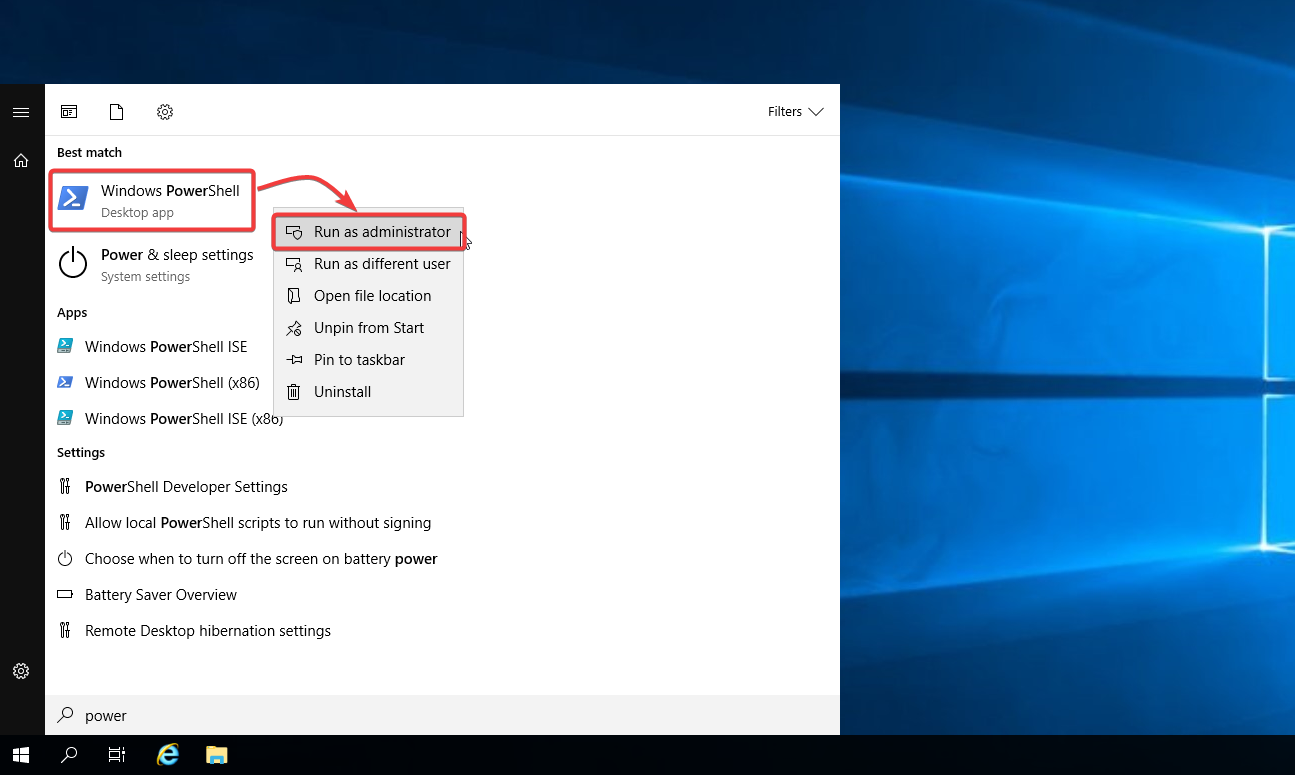
When the Windows server powers up, right-click Powershell and select Run as administrator.
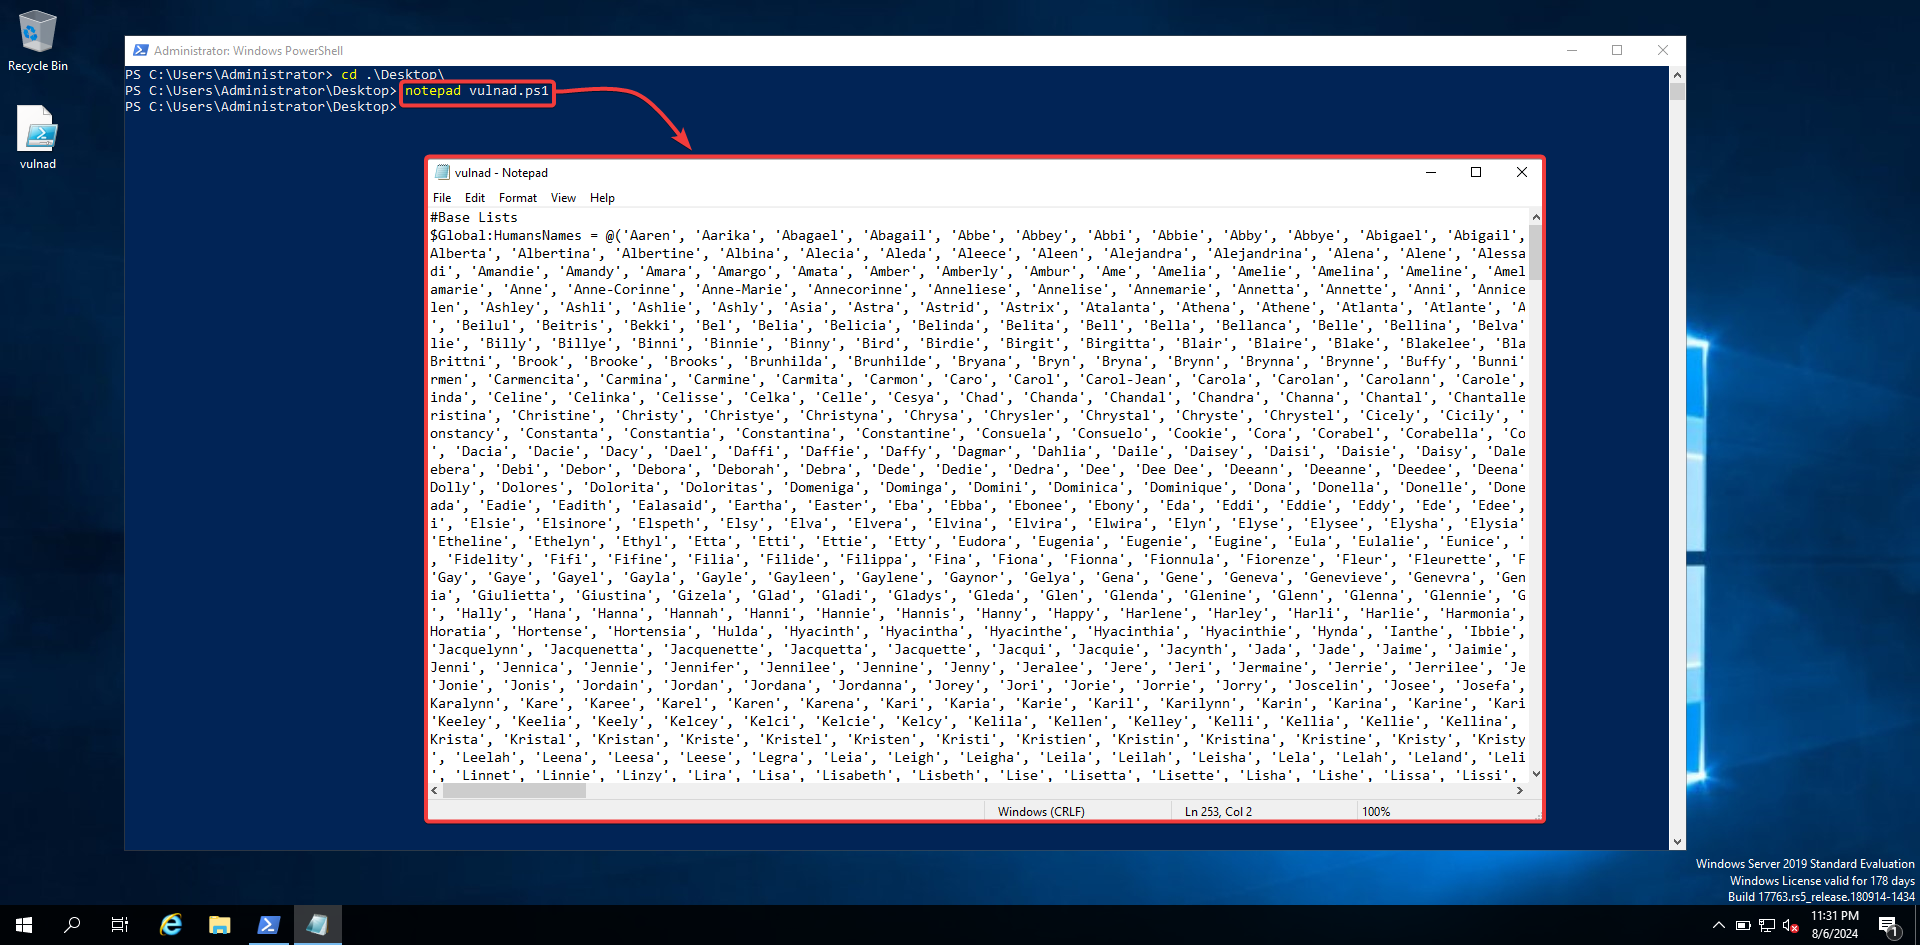
Visit the safebuffer GitHub page, then copy and save the vulnad.ps1 file to a notepad.
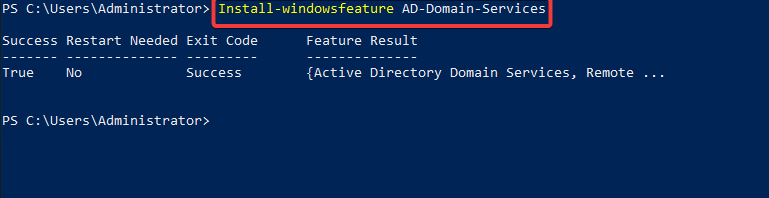
If you don’t have an active directory installed on the server, Run the following commands:
Install-windowsfeature AD-domain-services
Import-Module ADDSDeploymen

Install-ADDSForest -CreateDnsDelegation:$false -DatabasePath "C:\\Windows\\NTDS" -DomainMode "7" -DomainName "prnz.local" -DomainNetbiosName "prnz" -ForestMode "7" -InstallDns:$true -LogPath "C:\\Windows\\NTDS" -NoRebootOnCompletion:$false -SysvolPath "C:\\Windows\\SYSVOL" -Force:$true
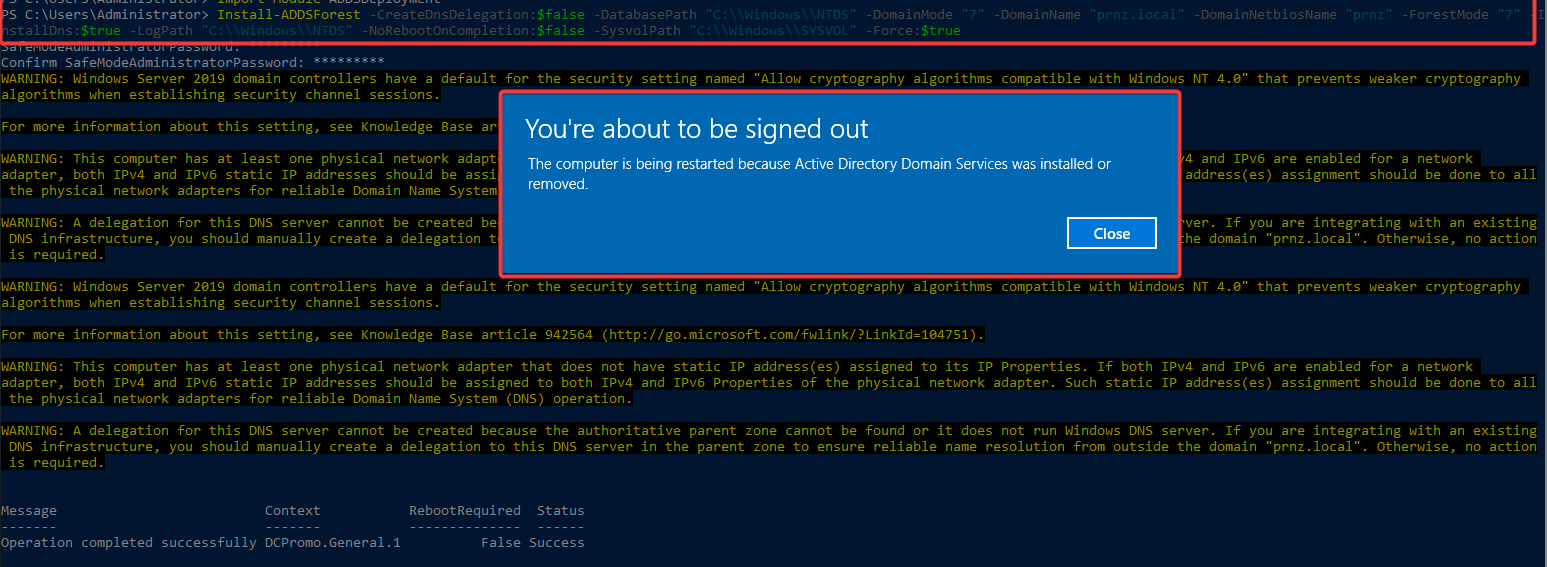
NOTE: Make sure to change the domain name of your preferred choice. Mine is prnz,local
This will restart your VM. Now as a final step, Enter the following commands to execute the script.
Import-Module .\vulnad.ps1

Invoke-VulnAD -UsersLimit 100 -DomainName "prnz.local"
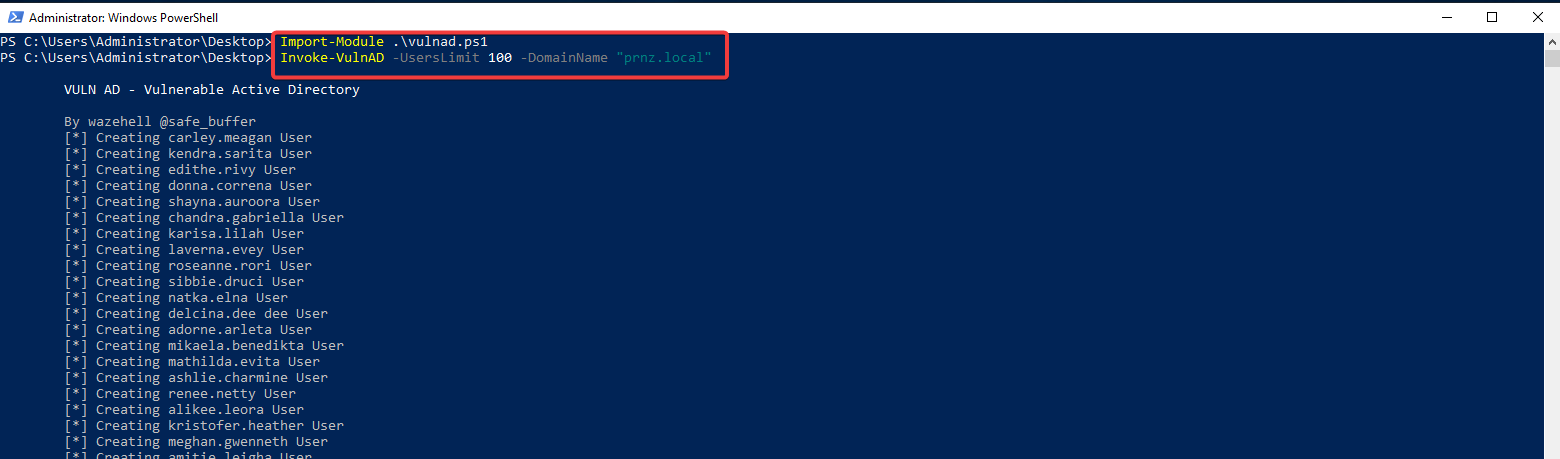
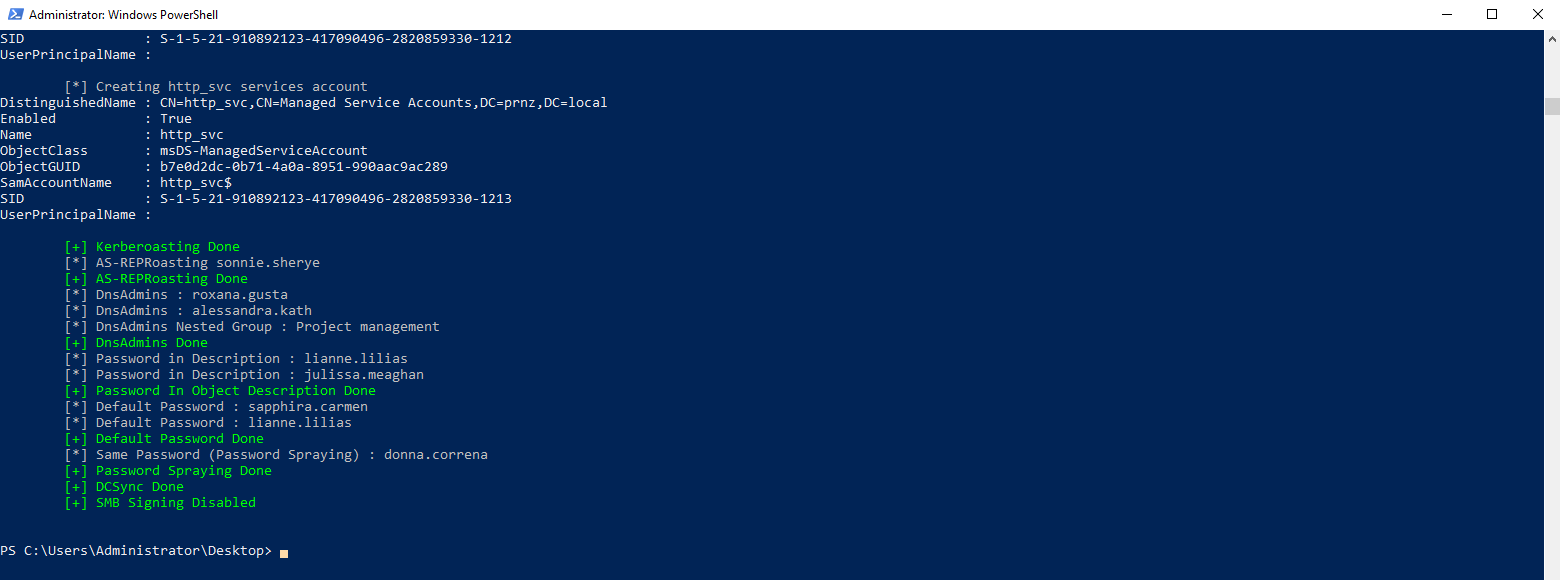
After that, you should see the following output:
That’s it I hope this small blog helps you to get started with setting up a Vulnerable AD environment for pentesting.
Thank You…
Happy Pentesting..!