
Hey Friends.
This blog is based on the new module API testing from Portswigger Academy. I will explain some basic theory in short points. We are mostly focused on practical labs. Let’s get started.
What is API?
API stands for Application Programming Interface. It enables software systems and applications to communicate and share data. API testing is important as vulnerabilities in APIs may undermine core aspects of a website’s confidentiality, integrity, and availability.
Below is a small table demonstrating the Owasp top 10 API vulnerabilities.
- Broken object-level authorization
- Broken authentication
- Broken object property level authorization
- Unrestricted resource consumption
- Broken function level authorization
- Unrestricted access to sensitive business flows
- Server-side request forgery
- Security misconfiguration
- Improper inventory management
- Unsafe consumption of APIs
API Recon
In this step, we need to collect as much information about the API.
-
Identify API endpoints.
-
After identifying the endpoint, we need to find a way to interact with them.
-
Find information about the input data that the API processes, and the type of request the API accepts, including supported HTTP method and media format, rate limit, and authentication mechanisms.
For example:
GET /api/books HTTP/1.1
Host: example.com
The API endpoint for this request is /api/books. This results in an interaction with the API to retrieve a list of books from a library.
API Documentation
APIs are usually documented so that developers know how to use and integrate with them. Documentation can be in both human-readable and machine-readable forms, and it’s typically written in structured formats like JSON or XML. API documentation is often publicly available, particularly if the API is intended for use by external developers.
Discovering API Documentation
If API documentation isn’t openly available, there are ways to access it.
- Browse applications that use the API to find it.
- Utilize automated tools like Burp Suite or Zap proxy to crawl the API.
- Manual testing can also be employed to uncover the API documentation.
- Use a list of common paths to directly fuzz for documentation.
For example, if you find an endpoint like /api/swagger/v1/users/123, you should check the following paths:
/api/swagger/v1
/api/swagger
/api
Practical 1: Exploring an API endpoint using documentation
Challenge Description: To solve the lab, find the exposed API documentation and delete Carlos.
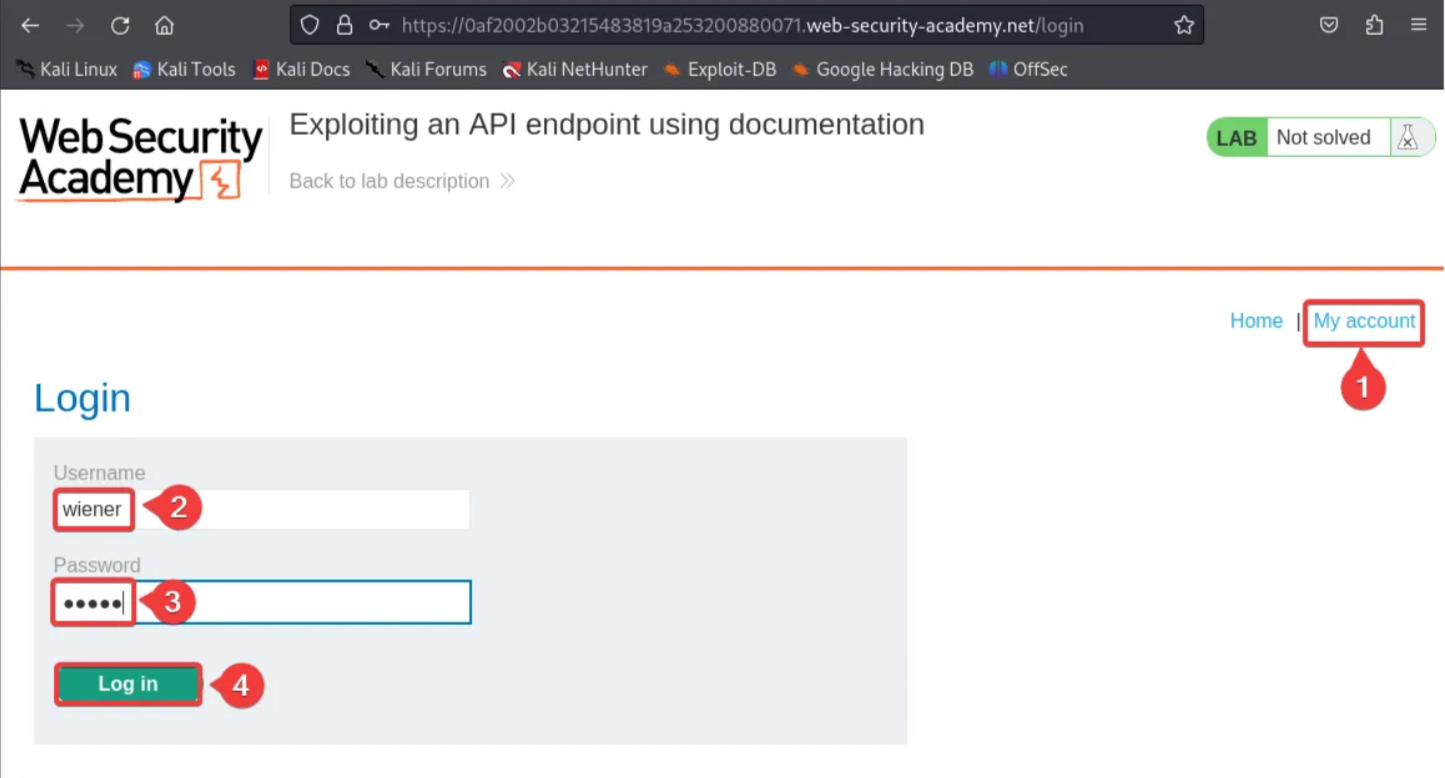
Before starting the challenge, make sure to start Burp Suite. Now, log in to the account using the credentials provided in the challenge description.
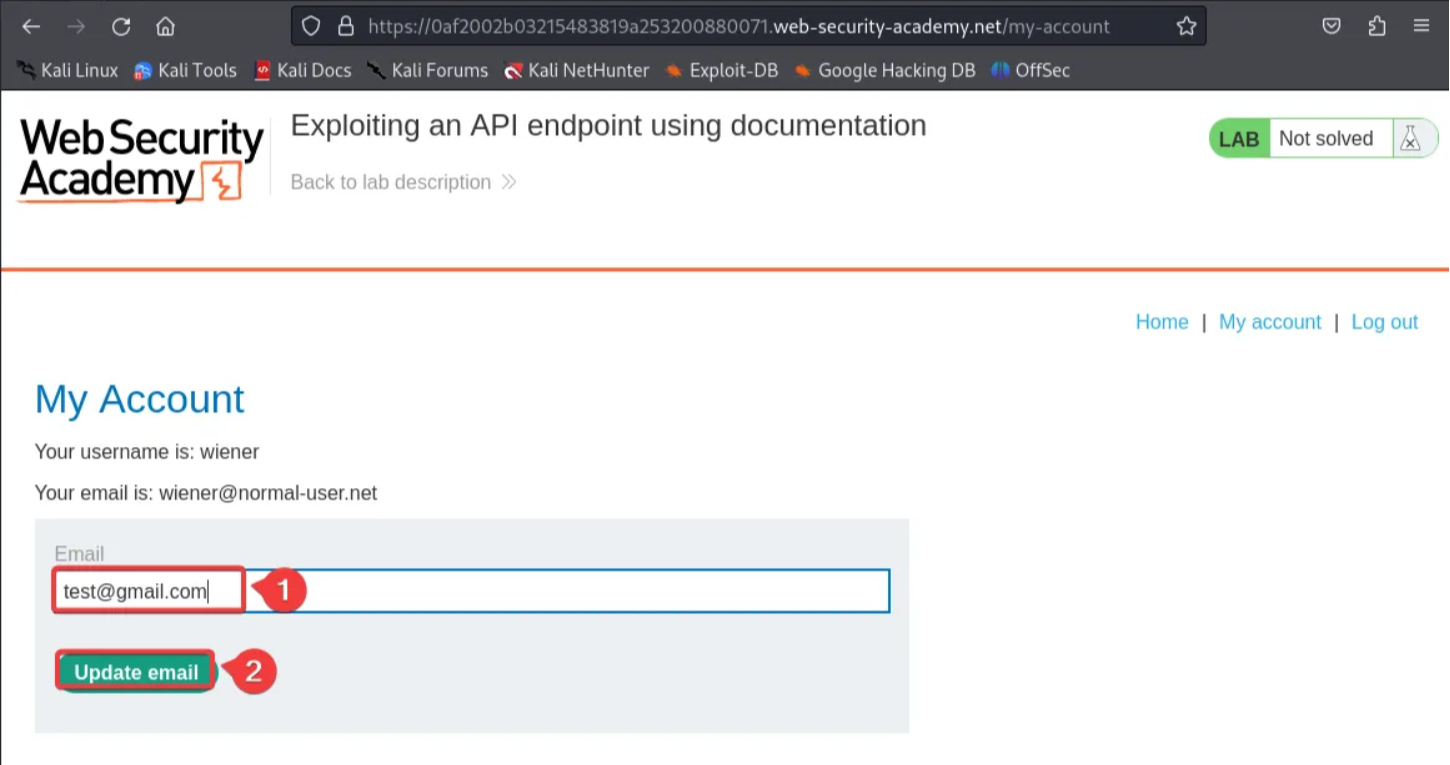
After logging in to the account, you can see an option to update the email address. Type in a random email address in the field and click on “Update”.
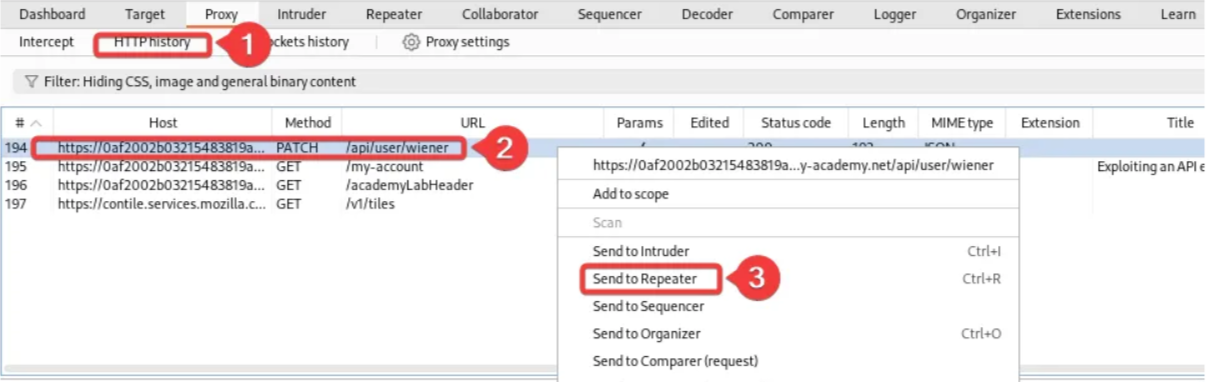
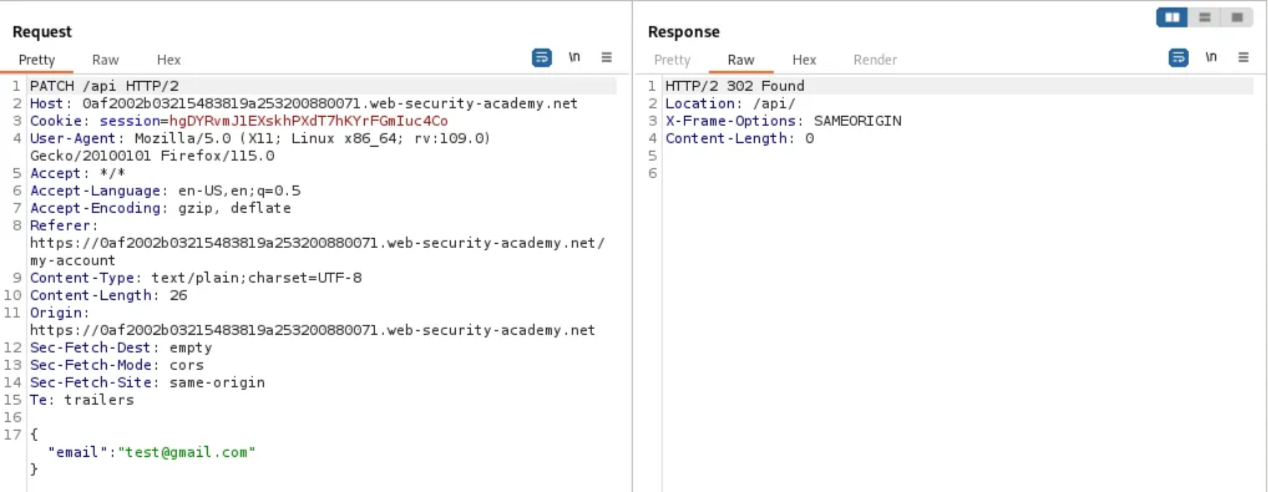
After changing the email address, navigate back to Burp and click on “HTTP history” under the proxy tab. Find the request with PATCH /api/user/wiener and send it to the Repeater.
On the Repeater window, click on the “Send” button and check the response. You can see the user credentials in the response.

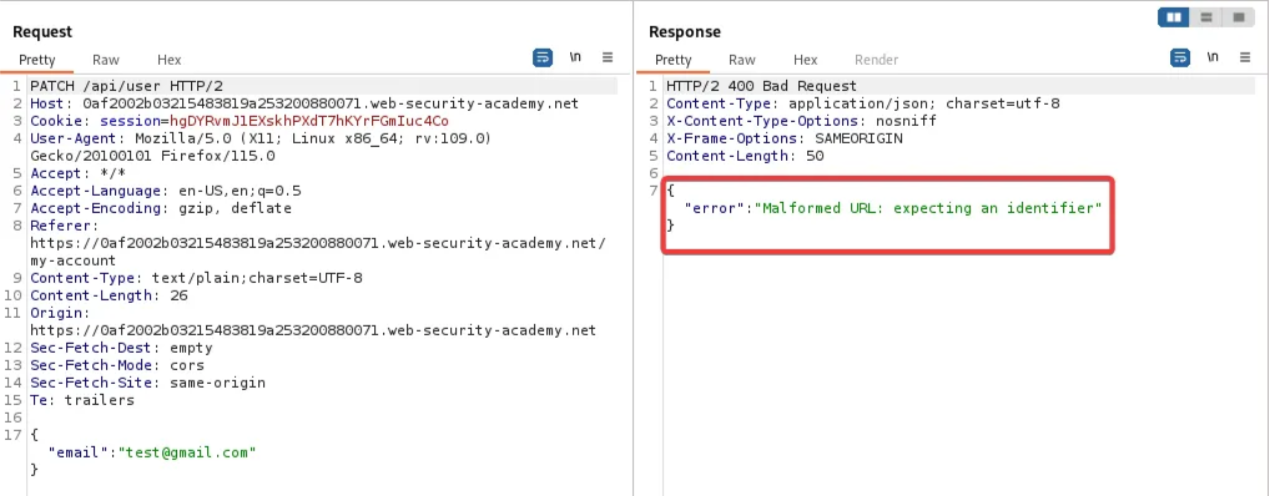
Now, try to delete the /wiener from the path of the request and click on “Send” again. You will get an error in response.
Remove /user from the path of the request, so the endpoint is now /api, then send the request. Notice that this retrieves API documentation.
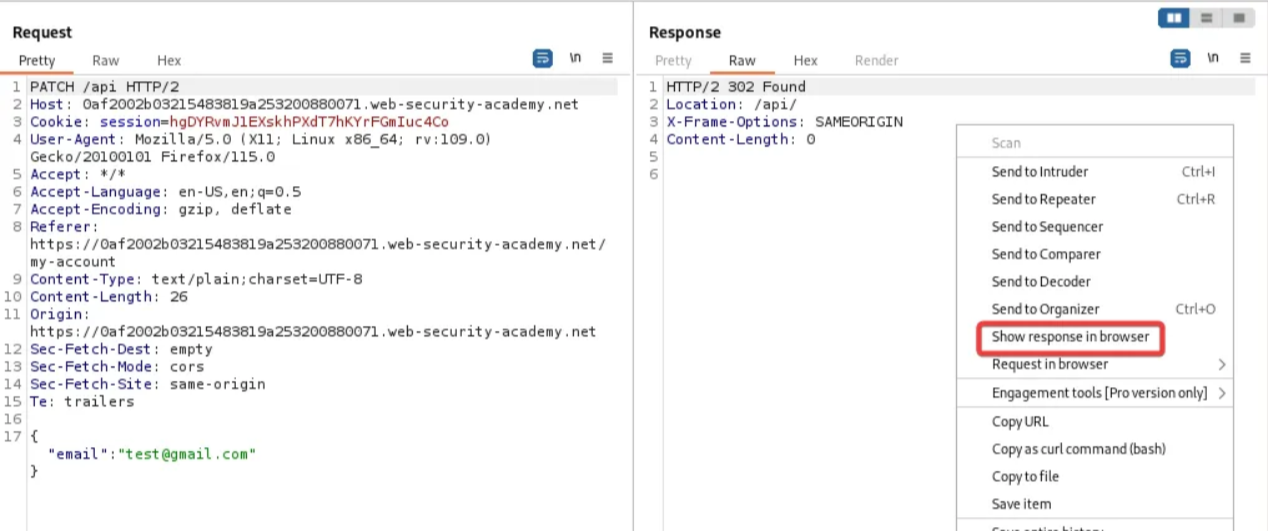
Right-click on the response and select “Show Response in Browser”. Copy the URL.
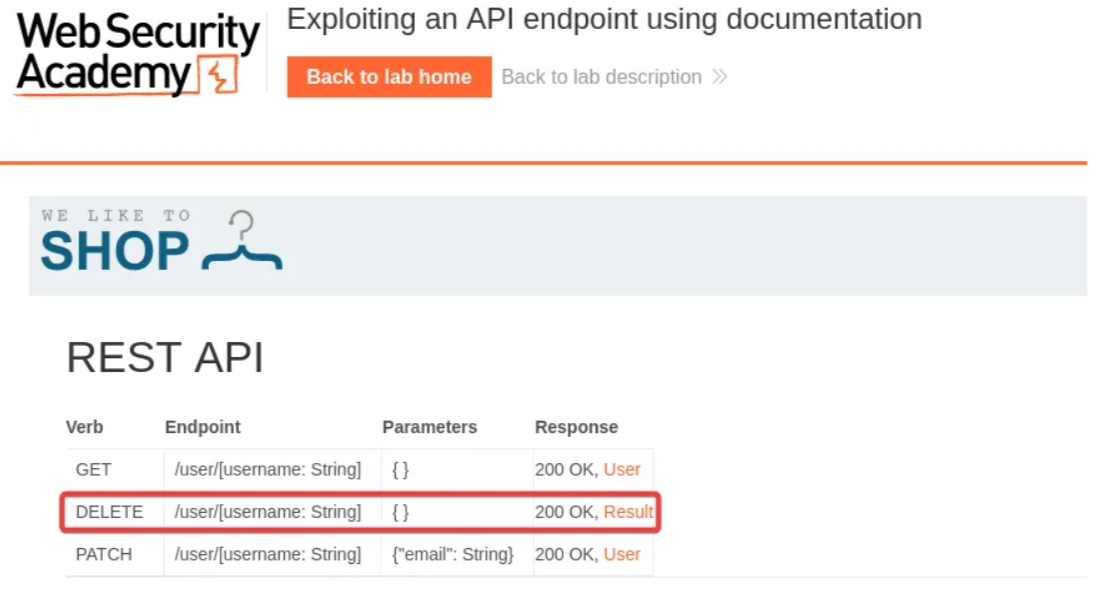
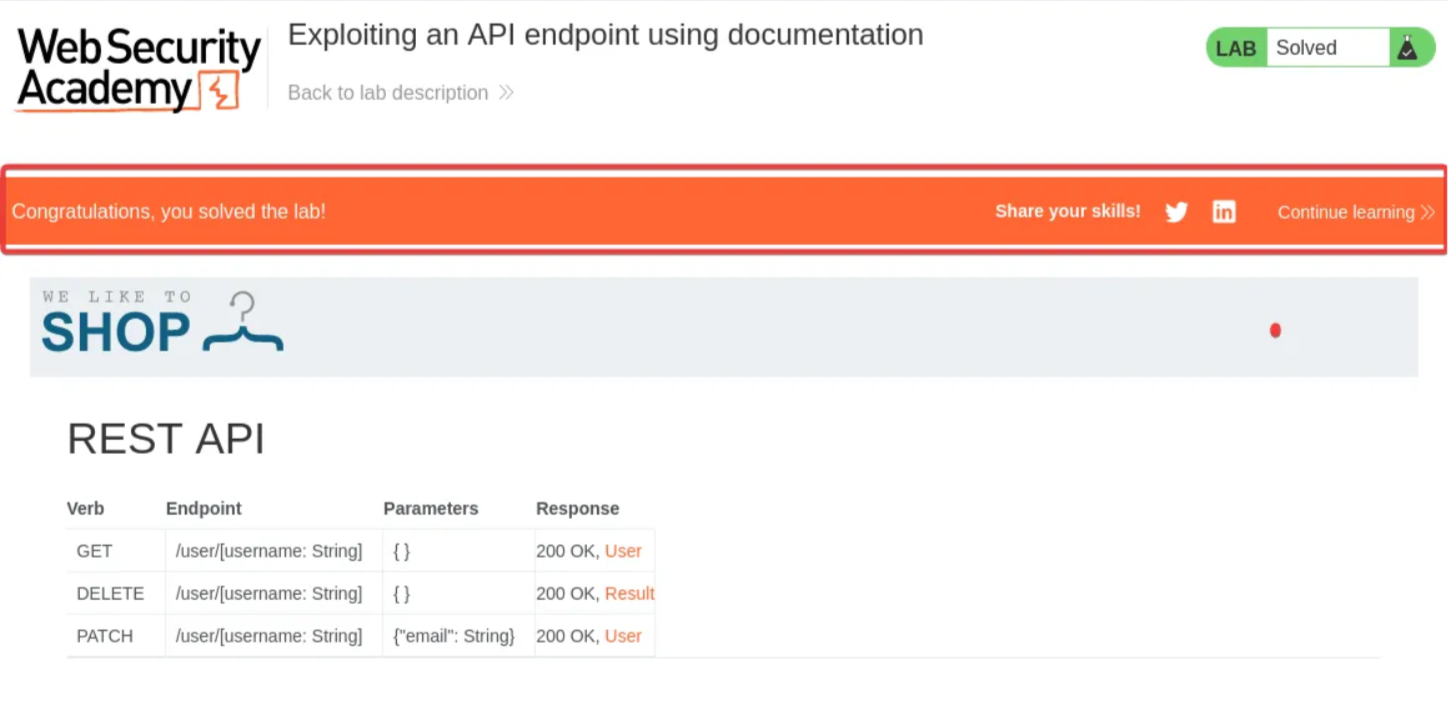
Open any browser of your choice and paste the URL. You can now see the API documentation. Click on the “DELETE” row.
Enter the name as Carlos, then click “Send Request”.
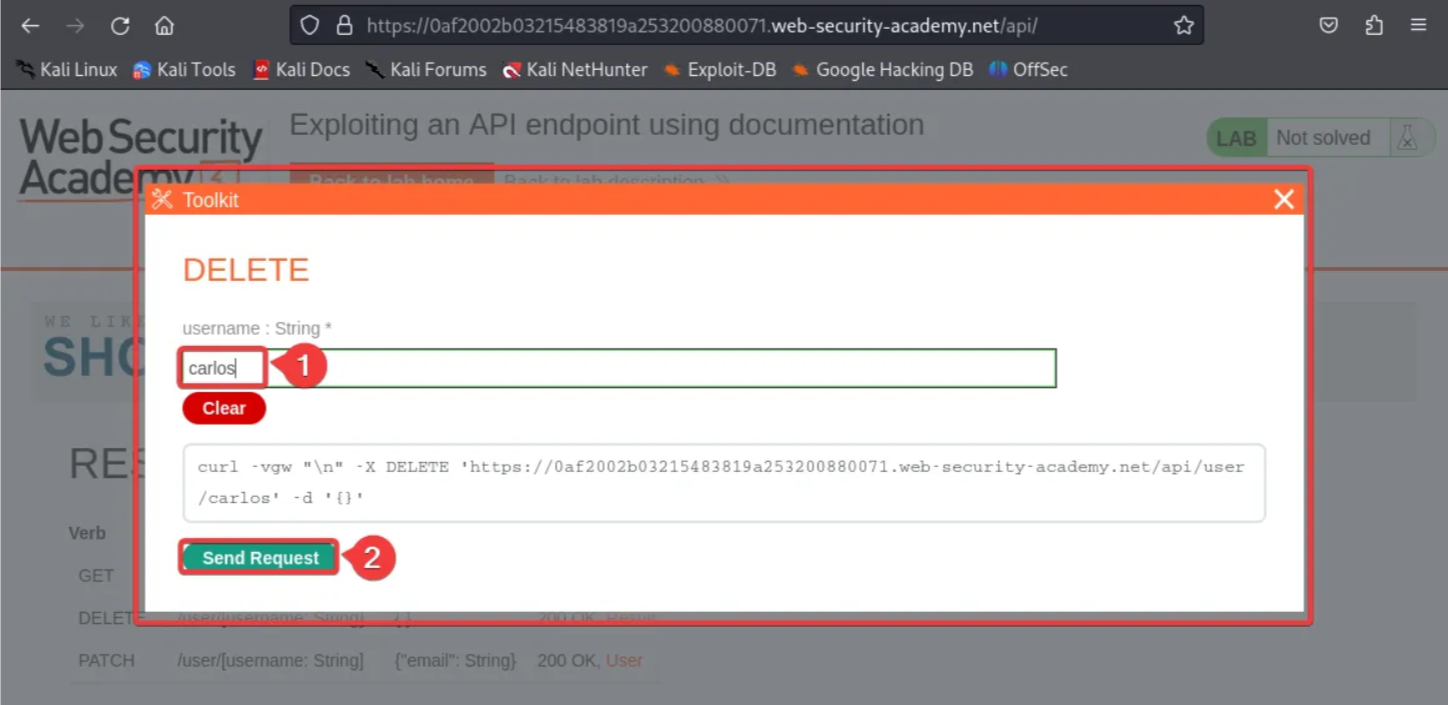
After clicking on “Send Request”, notice that the “Lab successful” message pops up.
That’s it for today. look forward to continuing our journey together in the next part. See you soon!
Happy Pentesting..!
Reference: https://portswigger.net/web-security/api-testing